09. 다중 센서 (RGB·Depth·Segmentation·Lidar)
실로봇 학습에서는 보통 RGB 한 채널만 쓰지 않는다. depth, segmentation, normal, motion vector 등 모달리티를 함께 학습시키거나 depth-only 정책을 sim에서 학습 후 실로봇 stereo depth로 옮긴다. Isaac Sim의 Replicator는 이 모든 모달리티를 동일 픽셀 좌표로 출력한다.
이 기능의 강점
- RGB · Depth · Instance/Semantic Segmentation · Normal · Motion Vector 동시 출력
- 모든 채널이 같은 카메라 intrinsics·extrinsics·resolution에 정렬
SemanticLabel스키마와 자동 연동- 라이다·IMU·접촉센서도 같은 워크플로(RTX Lidar, ContactSensor)로 추가
구현 방법
BasicWriter.initialize(backend, rgb=True, distance_to_camera=True, semantic_segmentation=True) 한 줄로 세 채널 동시.
최소 데모

검증 결과
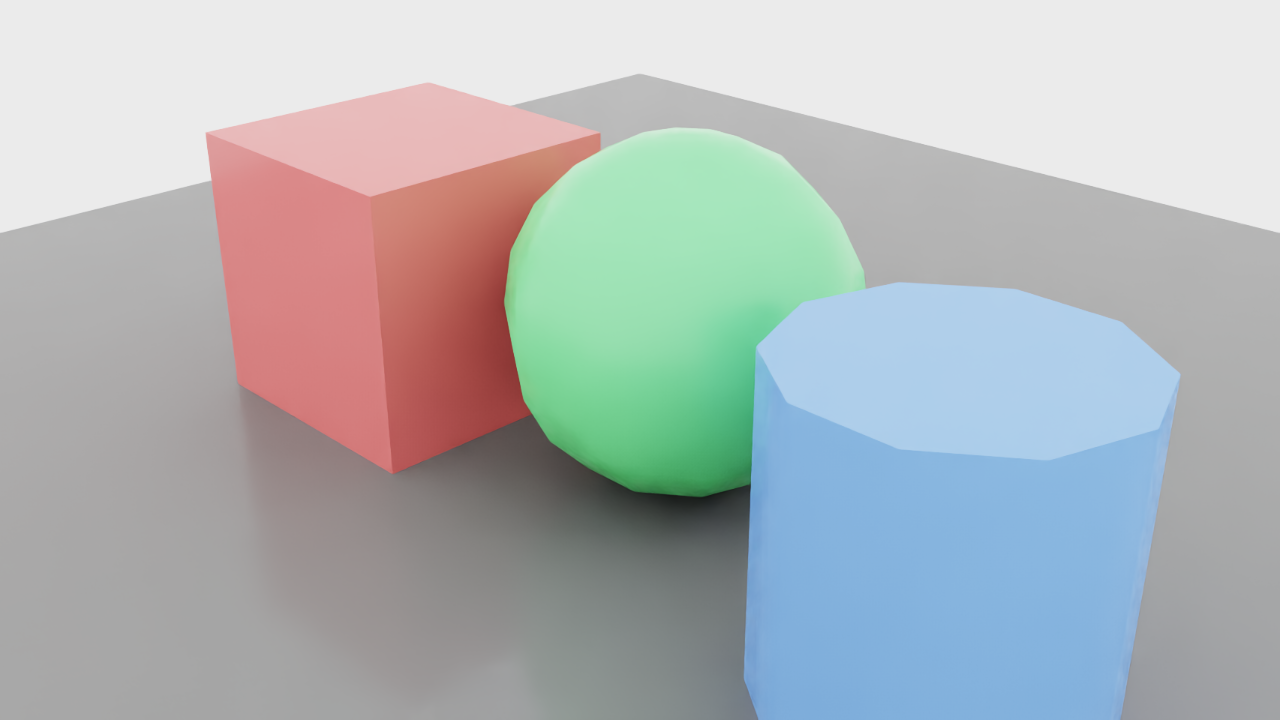
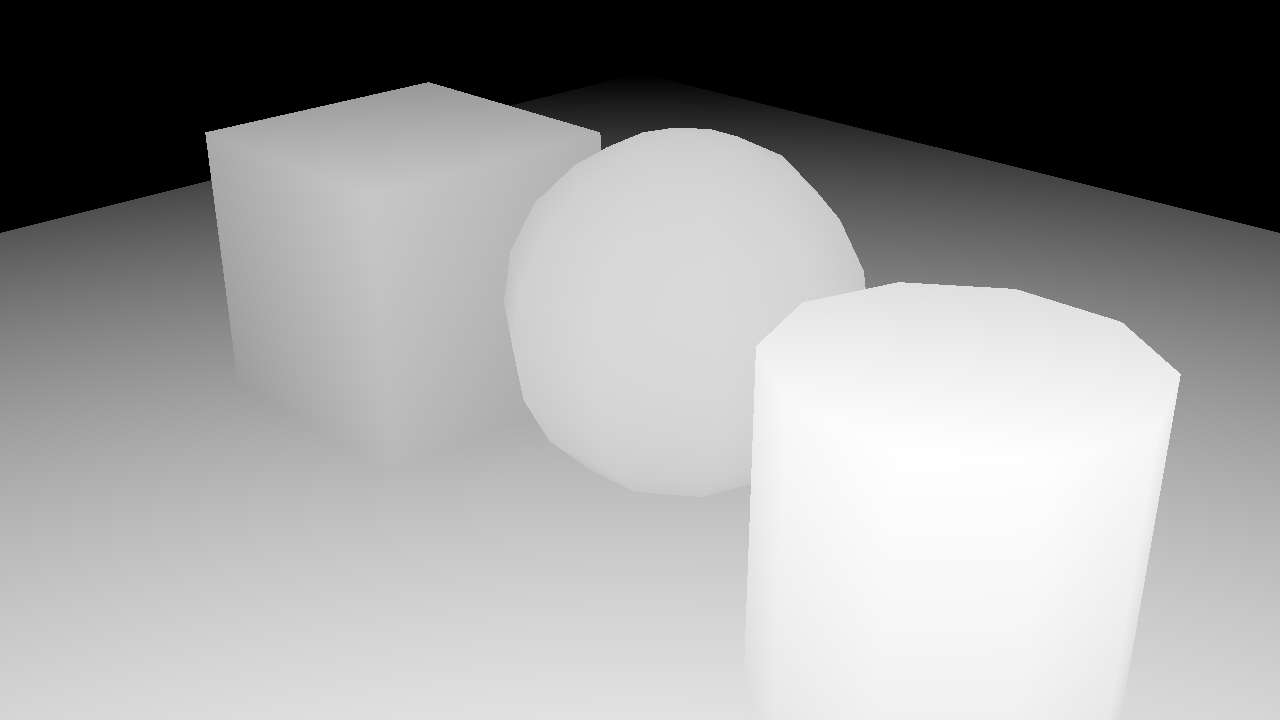
RGB(빨강·녹색·파랑 도형), depth(가까울수록 밝게), segmentation(클래스별 색)이 동일 카메라에서 한 step에 모두 출력.
핵심 코드 발췌
writer = rep.writers.get("BasicWriter")
writer.initialize(
    backend=backend,
    rgb=True,
    distance_to_camera=True,
    semantic_segmentation=True,
)
writer.attach(rp)
rep.orchestrator.step()실무 예제 — Warehouse + YCB + RTX Lidar 동시 시뮬레이션
Warehouse 배경 + YCB 3종을 두고 RGB 카메라 + RTX Lidar(OS1_REV6_32ch10hz1024res — Ouster OS1 32채널)를 같은 씬에서 동시 시뮬. RGB는 Replicator BasicWriter로, Lidar는 LidarRtx + render product로 캡처.
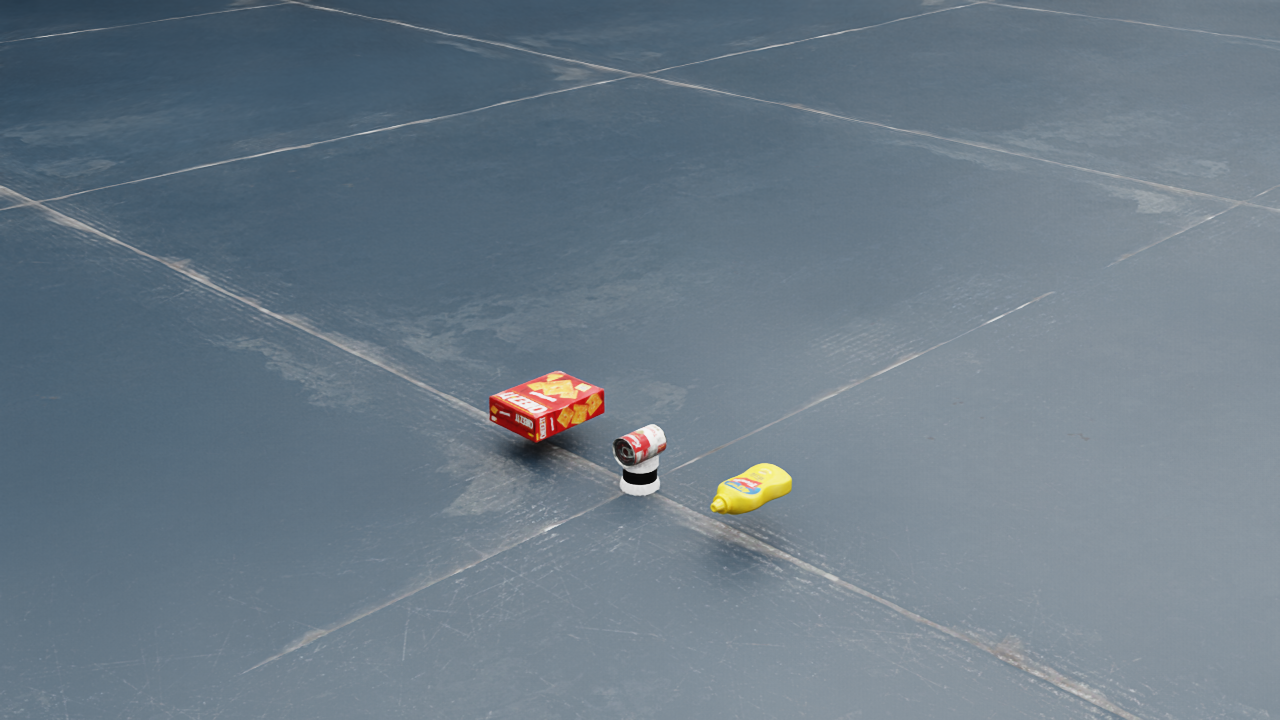
RTX Lidar는 본 컨테이너에서 LidarRtx(config_file_name="OS1_REV6_32ch10hz1024res")로 정상 생성되었으나 6.0의 새 데이터 수집 API(add_range_data_to_frame 등이 deprecated) 변경으로 point cloud 추출은 본 데모에서는 코드 인용으로 대체.
실무 데모 코드
from isaacsim.sensors.rtx import LidarRtx
import numpy as np

lidar = LidarRtx(
    prim_path="/World/Lidar",
    position=np.array([0, -1.0, 1.0]),
    config_file_name="OS1_REV6_32ch10hz1024res",  # Ouster OS1 32ch
)
lidar.initialize()
# 라이다 회전 한 바퀴 + 데이터 누적
for _ in range(120):
    sim.update()

# RGB 카메라는 같은 씬에서 Replicator로 분리 capture
cam = rep.functional.create.camera(...)
rp_rgb = rep.create.render_product(cam, (1280, 720))